
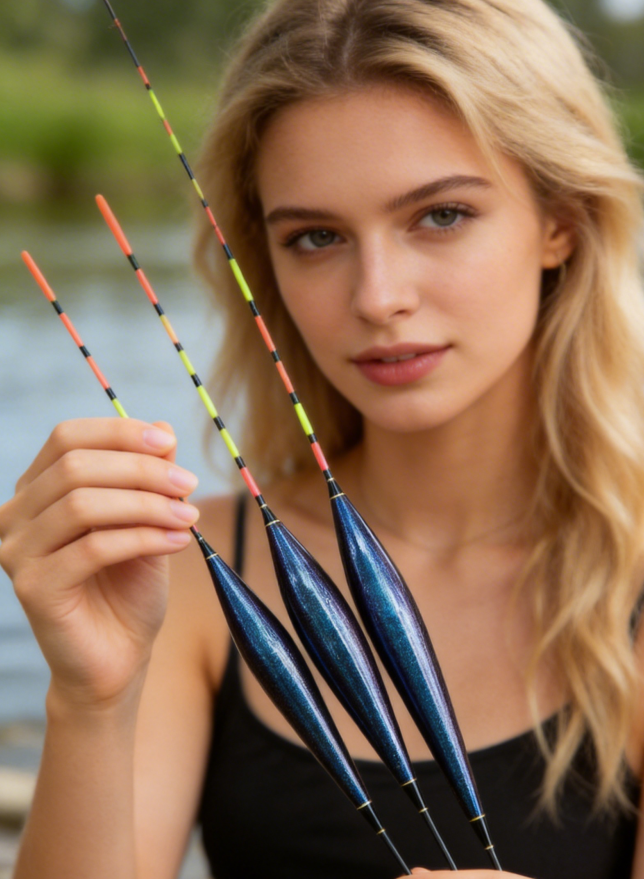
Float Adjustment Tutorial
Float Tuning Tutorial: How to Tune Your Float Based on Fish Conditions for Anglers
Float tuning is the unsung hero of successful float fishing—even the best float won’t help you catch fish if it’s not properly tuned to the current fish conditions. Many anglers, especially beginners, spend time choosing the right float but overlook the critical step of tuning it to match how the fish are feeding, their size, and their activity level. The goal of float tuning is simple: to balance the float’s buoyancy with your lead and bait, ensuring you can detect every bite clearly while avoiding false signals.
In this guide, we’ll walk you through the basics of float tuning, then break down how to adjust your float for different fish conditions—from light bites in cold water to aggressive feeding in warm weather, and everything in between. No complex jargon, just step-by-step instructions that work for both beginners and experienced anglers looking to refine their setup.
First: The Basics of Float Tuning (What You Need to Know)
Before diving into fish-specific tuning, let’s cover the fundamental concepts and tools you’ll need. Float tuning is all about balancing buoyancy (the float’s ability to stay afloat) and weight (lead and bait). Here’s what you need to get started:
-
A fishing float (match the size/type to your target fish—we’ll cover this later)
-
Lead weights (split shot or a lead slip; start with a small amount and adjust)
-
Fishing line (main line and leader line, matched to your fish species)
-
Bait (the same bait you’ll use for fishing—bait weight affects tuning!)
The core principle: When your float is properly tuned, it will sit steadily in the water, with only the tip (or a few eyes) visible. When a fish bites, the balance is disrupted, and the float will dip, rise, or move sideways—clear signals that it’s time to set the hook. Now, let’s move to the key part: tuning based on fish conditions.
Key Fish Conditions & Corresponding Float Tuning Methods
Fish behavior changes based on water temperature, oxygen levels, and their natural feeding habits. Your float tuning must adapt to these changes to maximize your chances of detecting bites. Below are the most common fish conditions and step-by-step tuning instructions for each.
1. Light Bites (Cold Water, Low Activity, Skittish Fish)
Light bites are common in cold water (e.g., winter fishing), low-oxygen environments, or when targeting skittish fish (like old, pressured fish). Fish are less active, so their bites are weak—often just a gentle suction or nudge that’s easy to miss. The goal here is to tune for maximum sensitivity to catch these faint signals.
Step-by-Step Tuning:
-
Start with a light setup: Use a small, slim float (1–2.5g lead capacity) with a thin tip—this amplifies small movements. Pair it with a light leader line (0.4–0.6mm) to reduce resistance, so even a weak bite can move the float.
-
Trim lead carefully: Attach a small split shot to your line (start with 1–2g total). Lower the float into the water (without bait) and trim the lead bit by bit until the float’s tip is just visible (1–2 eyes above the water). This is your “tune-in” position.
-
Add bait and adjust: Hook your bait (small, soft bait works best for light bites) and lower the float again. The bait’s weight will make the float sink slightly—adjust by moving the float up the line until the tip is visible again (1 eye is ideal for sensitivity).
-
Fine-tune for faint signals: If you’re not seeing bites, try removing a tiny piece of lead (or using a smaller split shot). This makes the float more sensitive—even a gentle suction from a fish will cause it to dip. Avoid over-trimming, though—too little lead will make the float unstable in even slight wind.
Pro Tip: For extra sensitivity, use a reed or peacock feather float—these materials transmit faint signals faster than nano or balsa wood. Also, wait 0.5–1 second after seeing a small dip before setting the hook—skittish fish often test the bait before swallowing it.
2. Aggressive Bites (Warm Water, Newly Stocked Fish, Active Predators)
Aggressive bites happen in warm water (e.g., summer), when fishing for newly stocked fish, or targeting active predators (like large carp or bass). Fish are active, feed quickly, and often “snatch” the bait—their bites are strong and clear. The goal here is to tune for stability to avoid false signals from small fish or water movement.
Step-by-Step Tuning:
-
Choose a sturdier float: Use a slightly larger, streamlined float (2.5–4g lead capacity) with a thick tip—this is easier to see from a distance and can handle strong bites.
-
Add more lead: Attach enough split shot to reach your target lead capacity (e.g., 3g for a 3g float). Lower the float (without bait) and adjust until 3–4 eyes are visible—this makes the float more stable.
-
Adjust for bait weight: Hook your bait (you can use slightly larger bait for aggressive feeders) and lower the float. Move the float up the line until 2–3 eyes are visible—this balances the bait’s weight and keeps the float stable, even if small fish nibble at the bait.
-
Filter false signals: If you’re getting frequent false dips (from small fish or wind), add a tiny bit more lead. This makes the float harder to move, ensuring only strong, real bites (from your target fish) will trigger a clear signal.
Pro Tip: Balsa wood floats work best here—they’re stable enough to filter messy signals but still sensitive enough to detect aggressive bites. If you’re fishing in slightly choppy water, a thicker tip (or a high-visibility tip) will make it easier to spot bites from a distance.
3. Schooling Small Fish (Nest Disturbance)
Dealing with schooling small fish (like minnows or whitebait) is frustrating—they swarm the bait, pulling the float around and creating constant false signals. The goal here is to tune your float to get the bait to the bottom quickly, avoiding small fish intercepting it, and filter out their tiny nibbles.
Step-by-Step Tuning:
-
Use a long, heavy float: Choose a long, streamlined float with a large lead capacity (3g+). The long body is stable, and the heavy lead pulls the bait down to the bottom quickly—where larger target fish (like carp or bream) are feeding.
-
Add extra lead: Attach enough lead to reach the float’s maximum lead capacity. Lower the float (without bait) and adjust until 2–3 eyes are visible—this ensures the float is stable and won’t be pulled around by small fish.
-
Set the depth for the bottom: Measure the water depth (use a weight to find the bottom), then set your float so the bait rests on the bottom. This way, small fish (which usually feed in the upper water layers) can’t reach the bait as easily.
-
Use larger bait: Pair this tuning with larger bait—small fish can’t swallow it, so they’ll stop nibbling, and larger fish will still be attracted. Adjust the float if needed to keep 2 eyes visible—this confirms the bait is on the bottom.
Pro Tip: If small fish are still a problem, try the “running lead” method—open the lead slip slightly so the lead rests on the bottom, and the float sits higher. This makes the float even more stable and filters out almost all small-fish signals.
4. Deep Water & Current (Large Fish, Moving Water)
Fishing in deep water (over 2 meters) or moving current requires tuning for stability and depth control. The current can push your line and bait, and deep water means you need to ensure the bait is at the right depth for your target fish (usually the bottom or mid-water).
Step-by-Step Tuning:
-
Choose an anti-current float: Use a long, thick float with a large lead capacity (3–5g). These floats are designed to cut through current and stay stable, even in moving water.
-
Add enough lead to fight current: Attach lead until the float sits steadily in the current (3–4 eyes visible). The lead will keep the line from being pulled by the current, ensuring the bait stays at your desired depth.
-
Adjust depth carefully: Measure the water depth, then set the float so the bait is 10–15cm above the bottom (for large fish like carp) or at mid-water (for active predators). In current, you may need to add a bit more lead to keep the bait from drifting upward.
-
Fine-tune for clarity: If the float is moving too much in the current, add a little more lead. If you’re not seeing bites, move the float up slightly to adjust the depth—large fish in current often feed just above the bottom to avoid being swept away.
Pro Tip: In strong current, use a “fixed lead” setup—secure the lead tightly to the line so it doesn’t slide. This keeps the bait stable and ensures the float only moves when a fish bites, not when the current pulls the line.
Float Tuning Cheat Sheet: Quick Reference for On-the-Spot Adjustments
To make tuning easy when you’re on the water, keep this cheat sheet in mind—it covers the most common scenarios and quick adjustments:
-
Light bites / cold water → Light lead + small float + thin tip + 1 eye visible (max sensitivity)
-
Aggressive bites / warm water → Medium lead + larger float + thick tip + 2–3 eyes visible (stability)
-
Small fish swarming → Heavy lead + long float + bait on bottom + 2 eyes visible (filter false signals)
-
Deep water / current → Heavy lead + anti-current float + bait 10–15cm above bottom (depth control)
Common Tuning Mistakes to Avoid
Even experienced anglers make these tuning mistakes—here’s how to avoid them:
-
Over-trimming lead: Too little lead makes the float unstable, leading to false signals from wind or water movement. Always start with more lead than you think you need, then trim gradually.
-
Ignoring bait weight: Bait adds weight—if you tune without bait, your float will sink too much when you add it. Always tune with the same bait you’ll use for fishing.
-
Using the wrong float size: A float that’s too small for the lead will sink; too large will be too stable and miss bites. Match the float’s lead capacity to your target lead weight.
-
Not adjusting for depth: In deep water, the weight of the line itself affects buoyancy. Always measure the depth and adjust the float accordingly—otherwise, your bait won’t be at the right level for the fish.
Final Thoughts
Float tuning is not a “set-it-and-forget-it” step—it’s a dynamic process that requires adjustment based on the fish conditions you’re facing. The best anglers check their tuning regularly (every 10–15 minutes) and make small adjustments as needed—whether that’s adding a tiny bit of lead, moving the float, or switching to a different float type.
Remember: The goal of tuning is to make the float work for you, not against you. By matching your tuning to how the fish are feeding, their size, and the water conditions, you’ll detect more bites, avoid frustration, and land more fish. Practice makes perfect—start with the basics, experiment with different adjustments, and soon you’ll be tuning your float like a pro.
Now grab your gear, head to the water, and put these tuning tips to the test—your next big catch is just a well-tuned float away!
Related Products
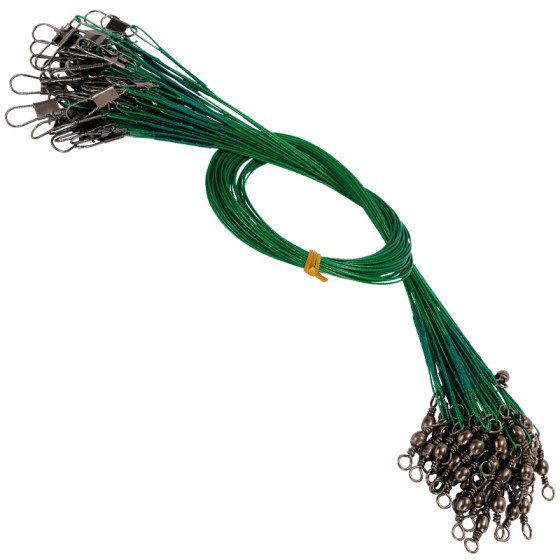
Tab Stainless Steel Leader Wire | Lure Fishing Leader Line /60 Pieces
$6.90
$19.90
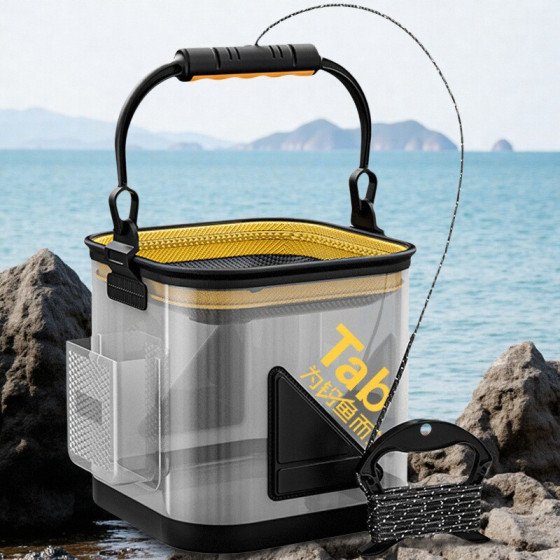
Tab Transparent Collapsible Fishing Bucket | High-Visibility Live Fish & Water Bucket
$9.90
$15.90
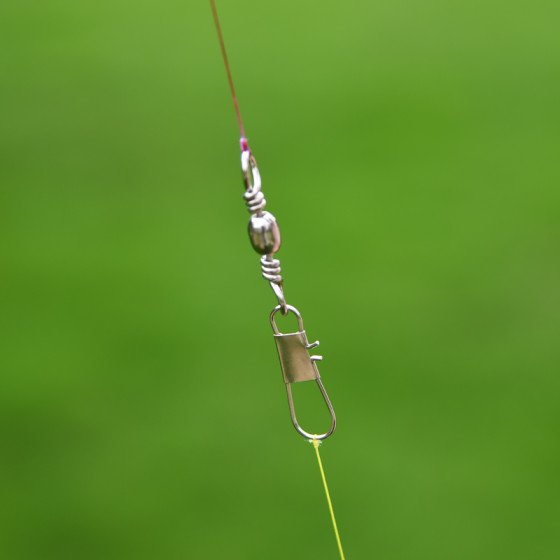
Tab Barrel Swivel with B-Type Snap | Premium Fishing Connector
$5.90
$9.90
TAB Fishing Main Line Box Storage Box Fishing Line Spools
$6.90
$15.90